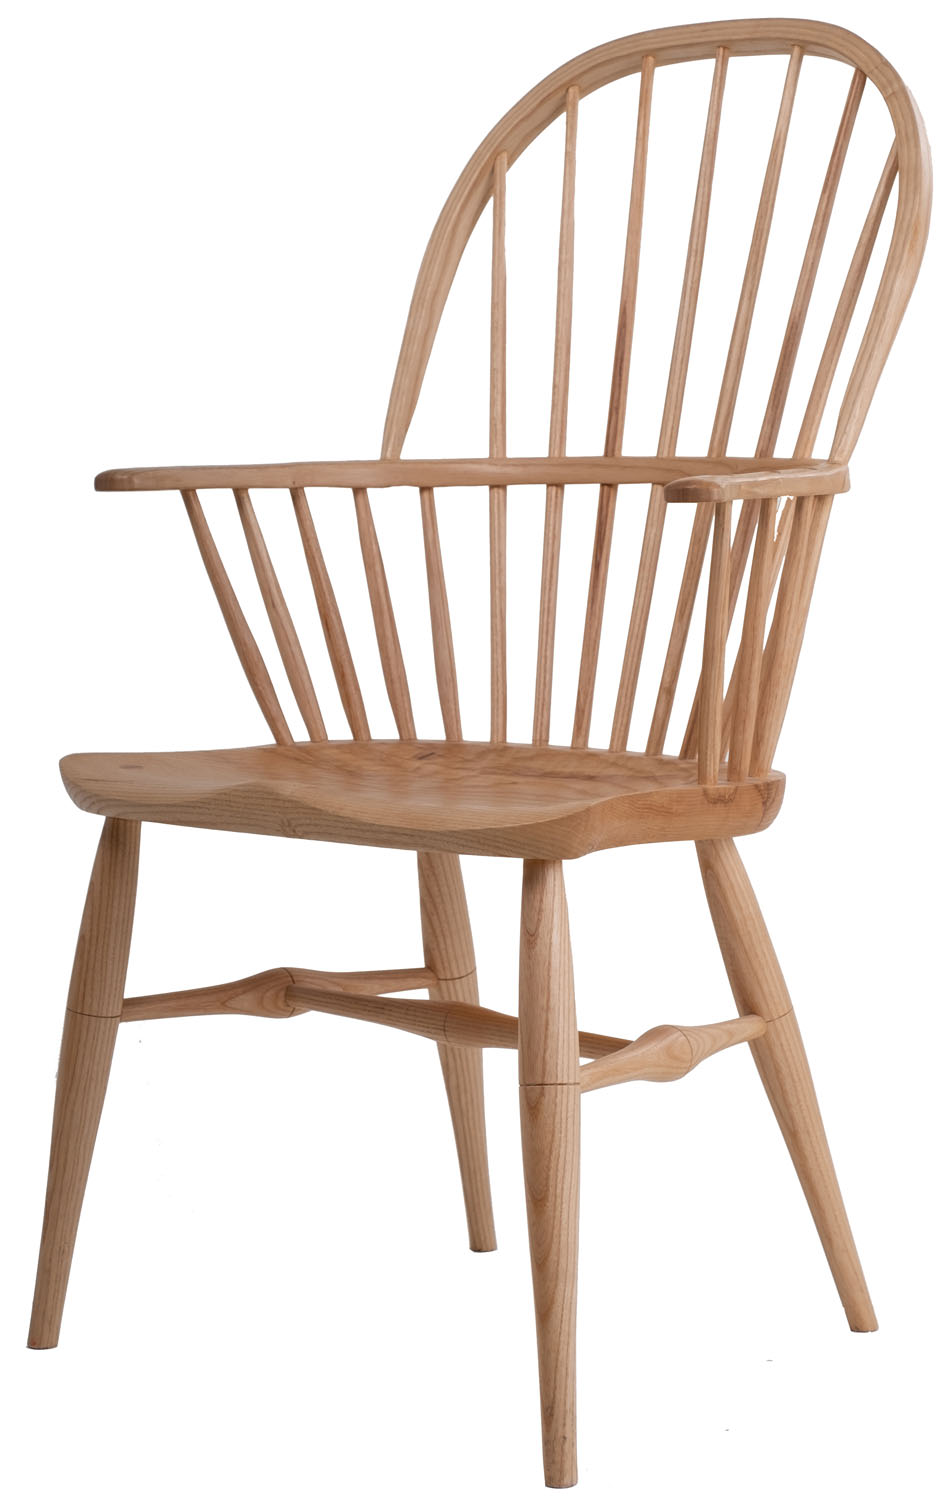
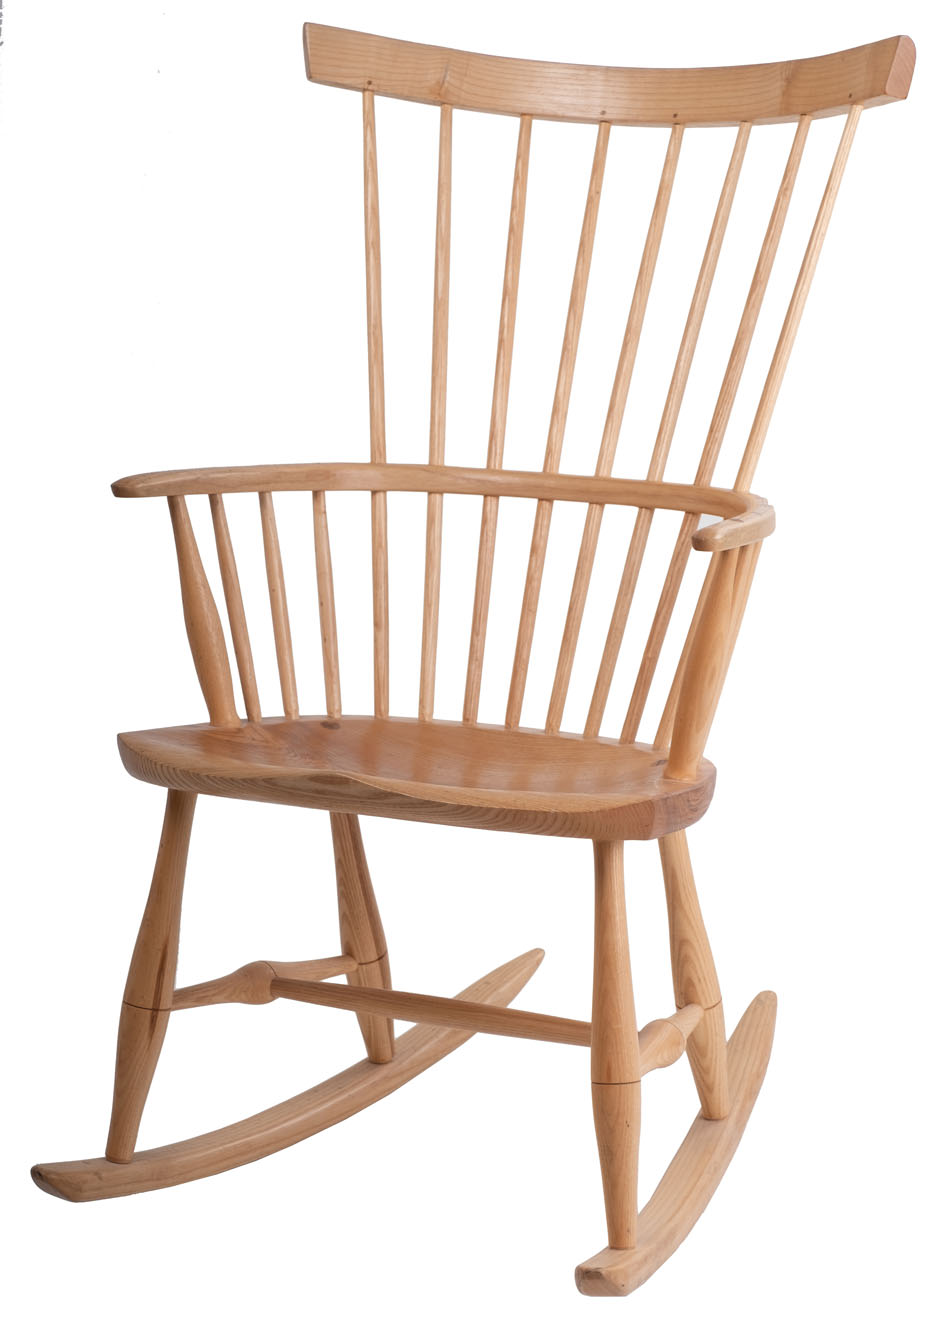
This is a short newsletter to give you the details of two new products that I have been working on since last September! One helps with drilling holes in the arms and bows of Windsor chairs and the other makes easy the drawing of lines parallel to a surface, whether straight or curved.
Also, Robert, who came on a course a year ago, recently sent me pictures of a superb chair that he has made at home and his brilliant steaming setup – it doesn’t get any simpler than this!! I hope that this may be inspiration for others to make chairs at home and it’s proof that at the end of a 5-day course you will have the knowledge to do it yourself.
If you fancy making a chair in the near future, there are still a few vacancies through to July. The details are below.
Finally, would anyone be interested in making a pair of bar stools on a 5-day course?
Best wishes
James
Course Vacancies
There are a few spaces left on the following courses beginning:
26/2 Classic 22/4 Continuous arm 13/5 Rocking chair 10/6 Classic 8/7 Continuous arm
If you are interested in any of these courses, please drop me an email and I can let you know the current situation.
Further dates will be added in early April and at the same time I will give details of my first show of the year, which will be at RHS Wisley 2-6 May.
I am considering offering a course to make a pair of bar stools on a 5-day course and wonder if this would be of any interest? If you have any thoughts, please drop me a line, using the button below. I would welcome all comments!
In any event, I will develop a design with a steam-bent low back and will hopefully take it to my next show and include it in a future newsletter to further gauge public opinion!
They have both been extensively tested on the last few courses and they have proved very popular with my students!
The ideas for both products have been floating around in my head for a while, but I had no idea how to make them. The breakthrough came from meeting a local professional 3-D printer, who was prepared to take on the products, from a woodworker with crude wooden prototypes, and pencil and paper sketches! Both tools are made from nylon. The printer that produces them costs £500k, so some way from a machine that one may use at home!
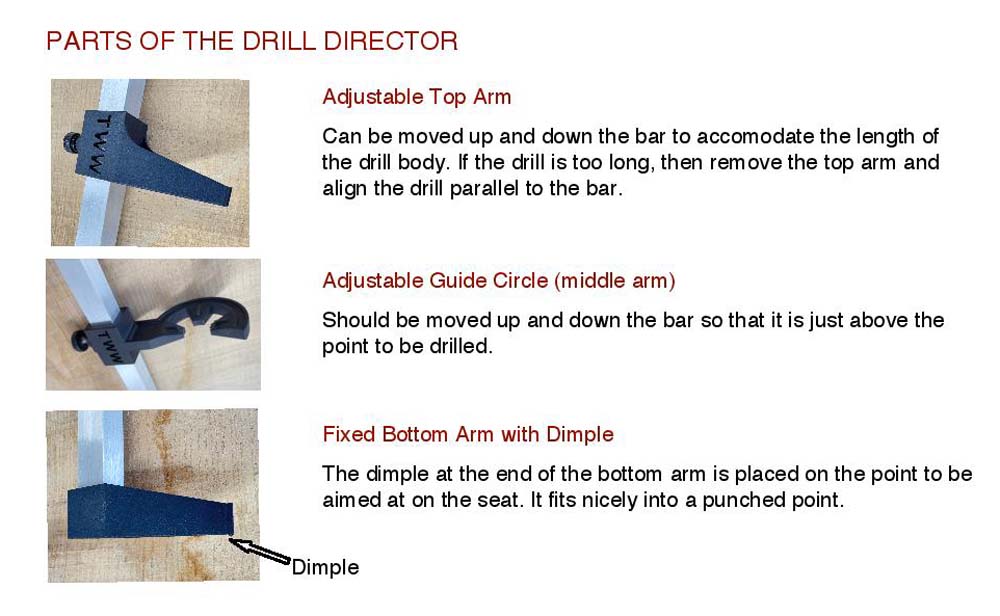
Drill Director
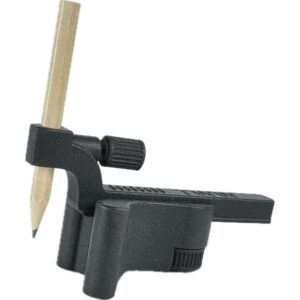
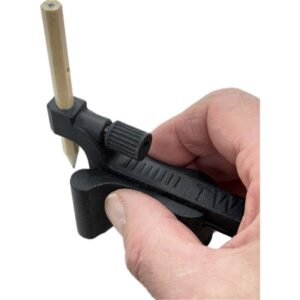
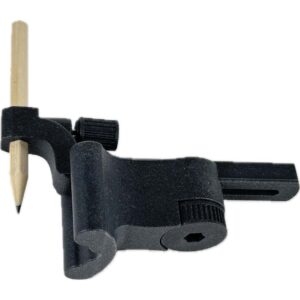
Super Scriber
Drill Director
The Drill Director makes drilling the holes in arms and bows of Windsor chairs very simple. I showed a very basic prototype a year ago in a newsletter and although it worked well, it was quite cumbersome, especially on a chair where the bow changed height significantly, such as in the continuous arm chair.
The final version is easily adjusted to any height and can be used with your regular cordless drill and bit. Until the second half of last year, I always needed extra help on Thursday afternoons of a course, when the holes were being drilled. My brother Tom helped for a number of years and then Roger, who has appeared in previous issues, also assisted. We had to teach the students to drill though an arm, aiming at a point that could not be seen, and it was highly stressful!
The Drill Director is so easy to use that after a couple of practice holes, students just get on with the job and the stress levels are very low. Occasionally people are so chilled that they aim their drills at the wrong point on the seat. This can be unfortunate! Although the Drill Director helps hugely, it cannot tell you which spot to aim at and you still have to concentrate!
I hope that these two videos show how it works and how simple it is to use.
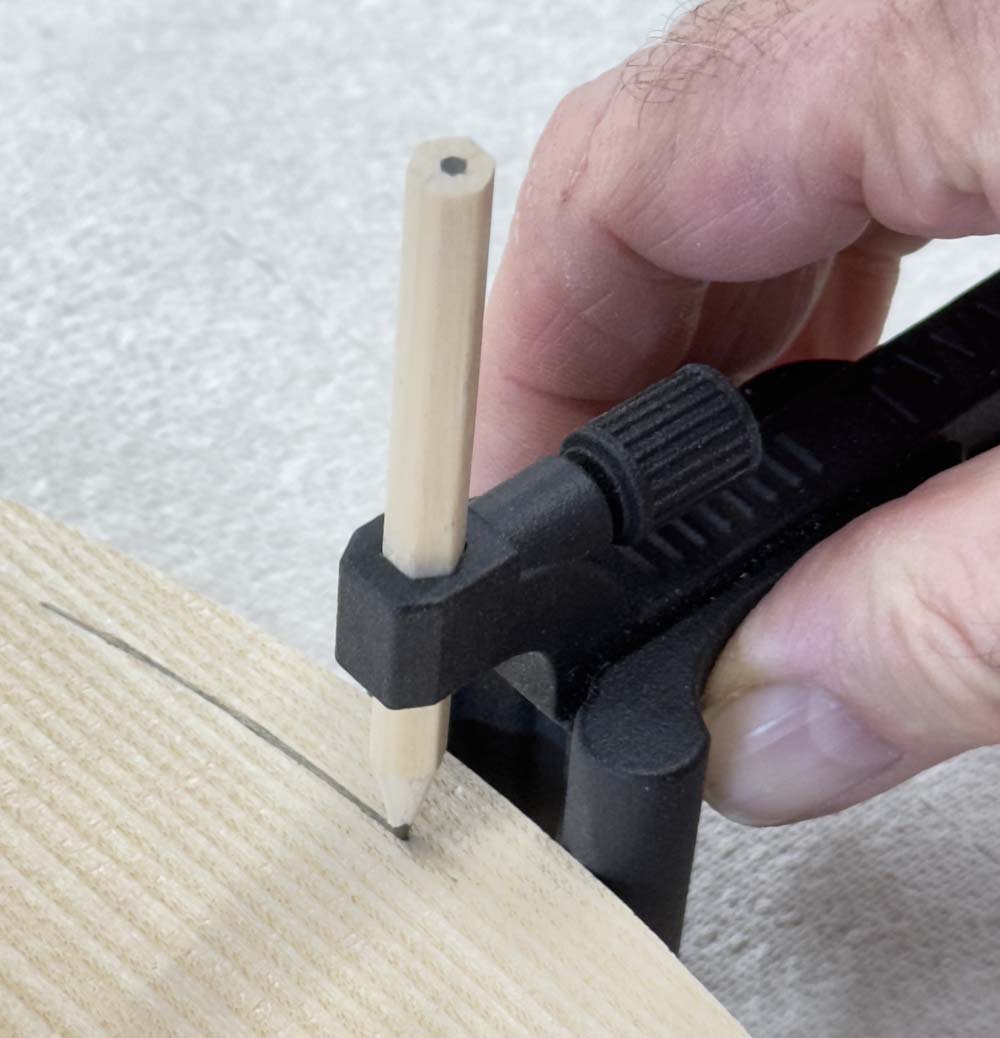
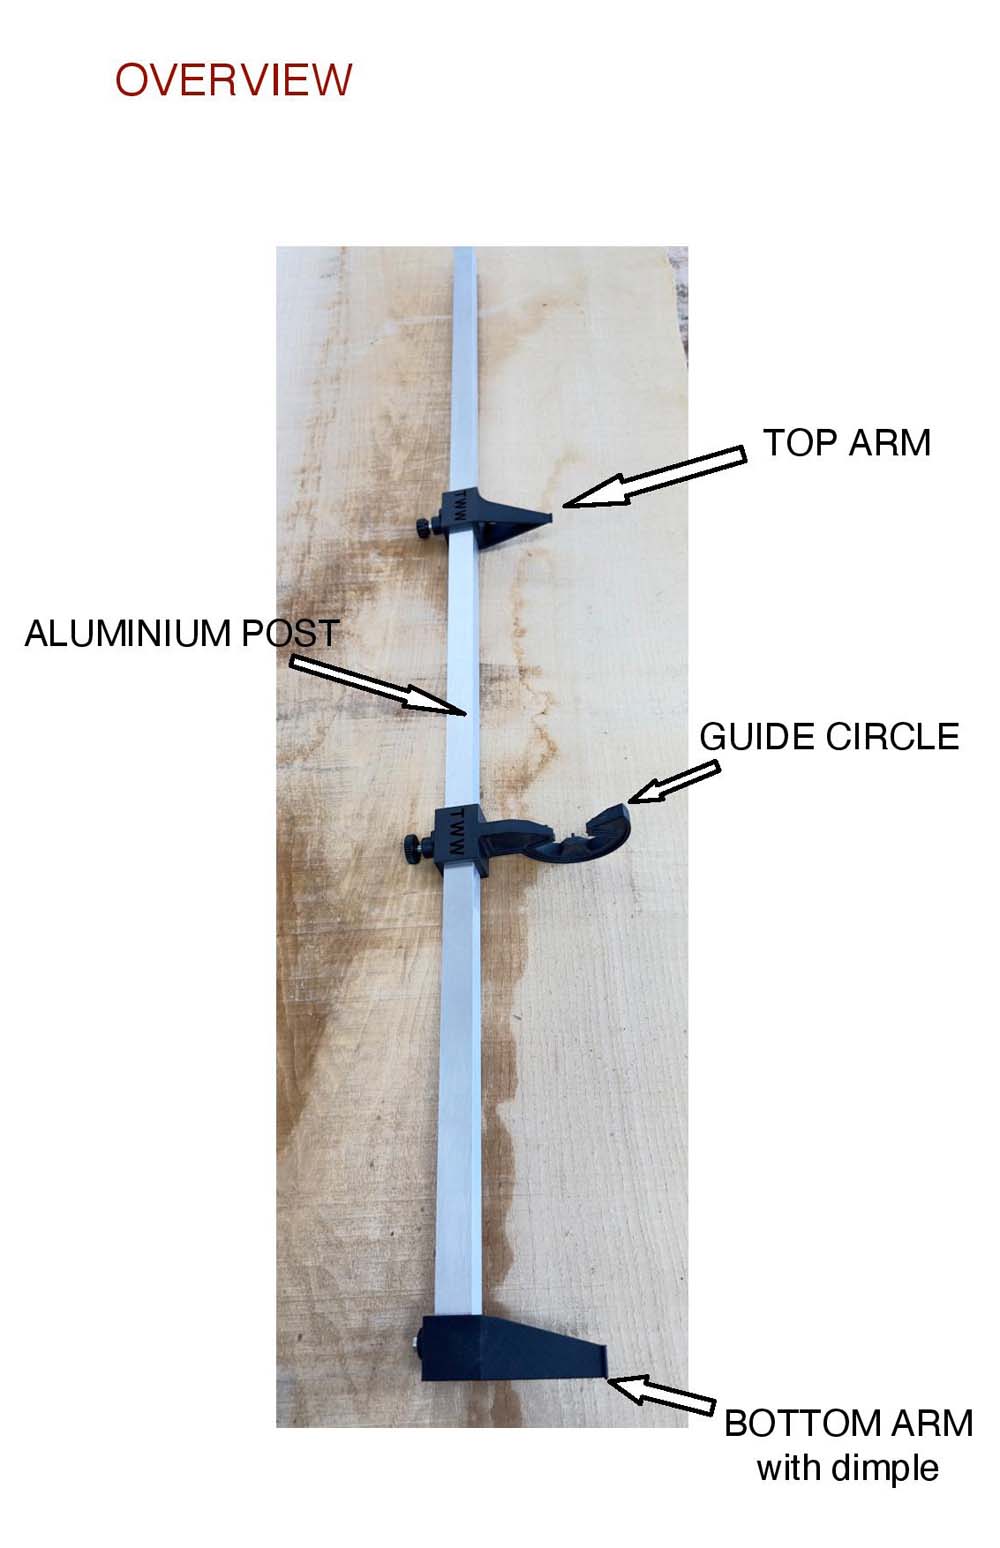
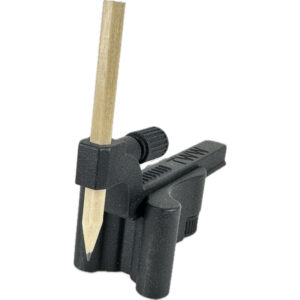
The Super Scriber assists in drawing lines parallel to an edge, whether it is straight or curved. This is often a challenge to students. It is easy enough to draw a line, but keeping it the same distance from a curving edge takes practice, unless you have a Super Scriber!!
I hope it is largely self-explanatory. The images show you the tool and the video shows it in use.
Robert came on a course last March. Recently he emailed me with details of a superb chair that he has just made. The steam box that he describes below, shows just how simply one can solve the challenges of Windsor chairmaking, using things lying around the home!
Here are the details in his own words:
I came on a continuous arm course last March and bought myself your book and a scraper for Christmas.
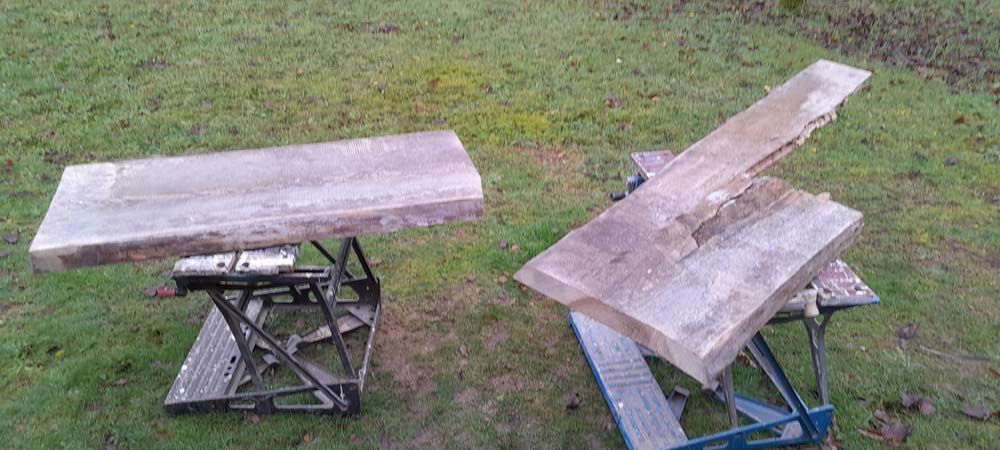
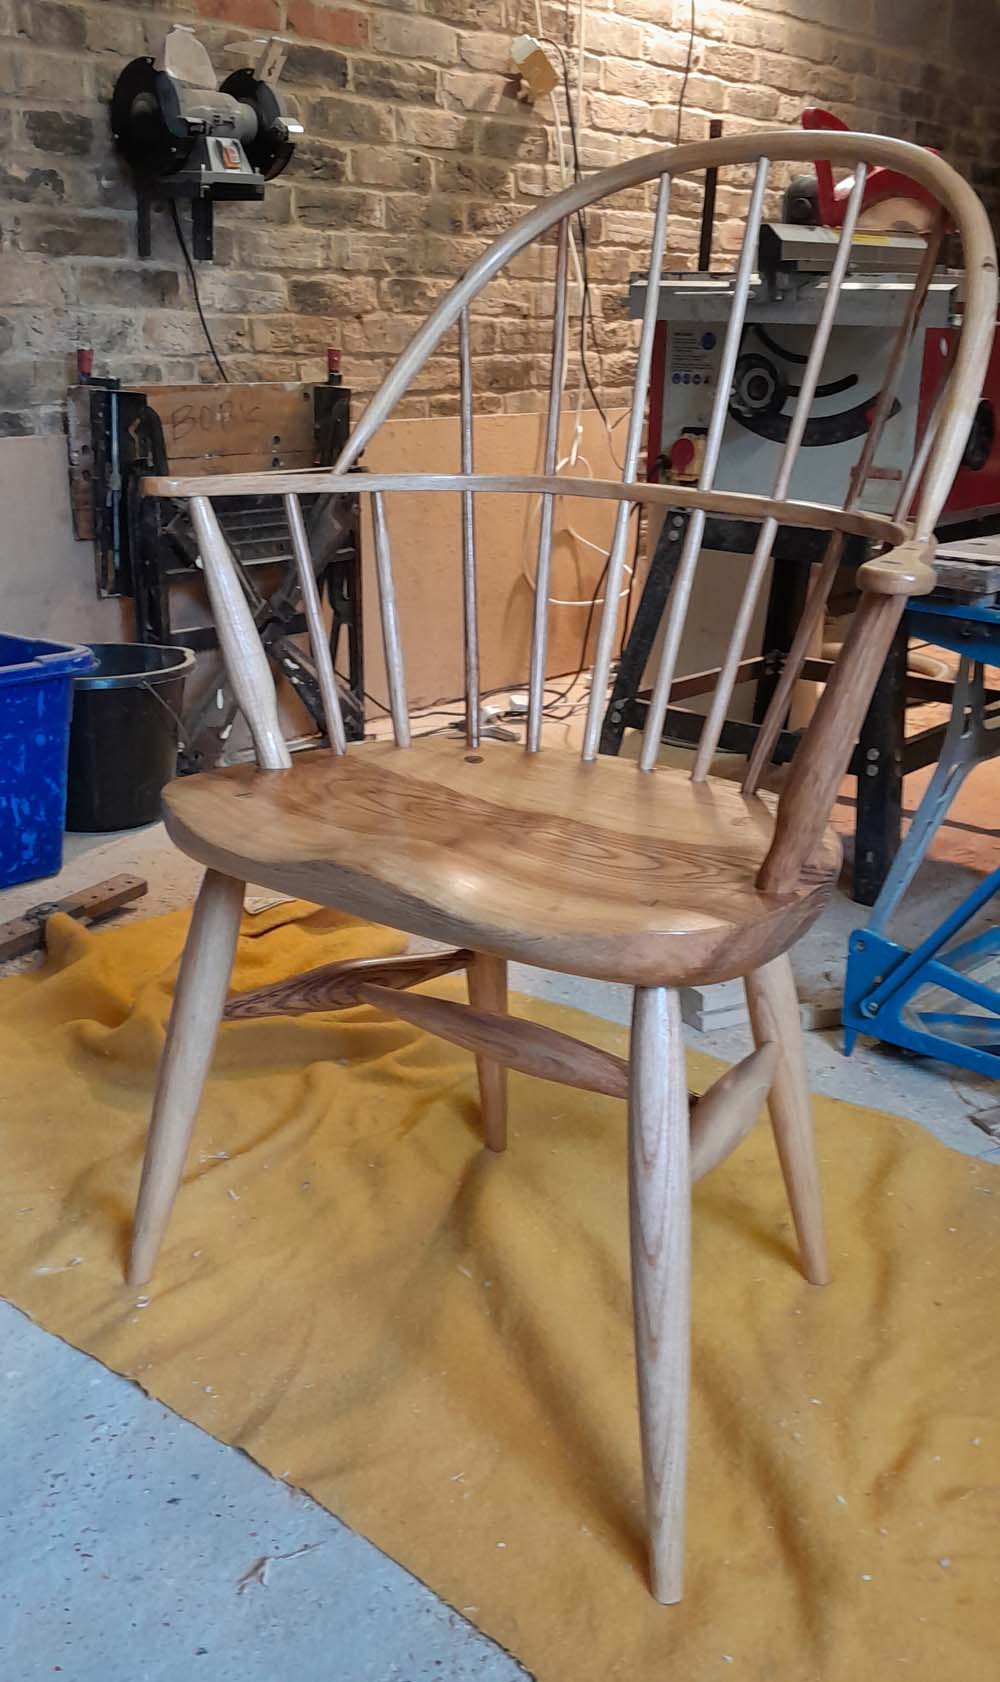
I have just completed my first chair having sourced a piece of Ash from a very local yard. It had been milled 2 years ago and felled some years before that. One end had some rot and the other had a central crack but there was sufficient hard wood to produce all the components. I felt bending a continuous arm was probably too tricky on my own, so opted for a double bow design based on the plan in your book with similar turnings to my course chair.
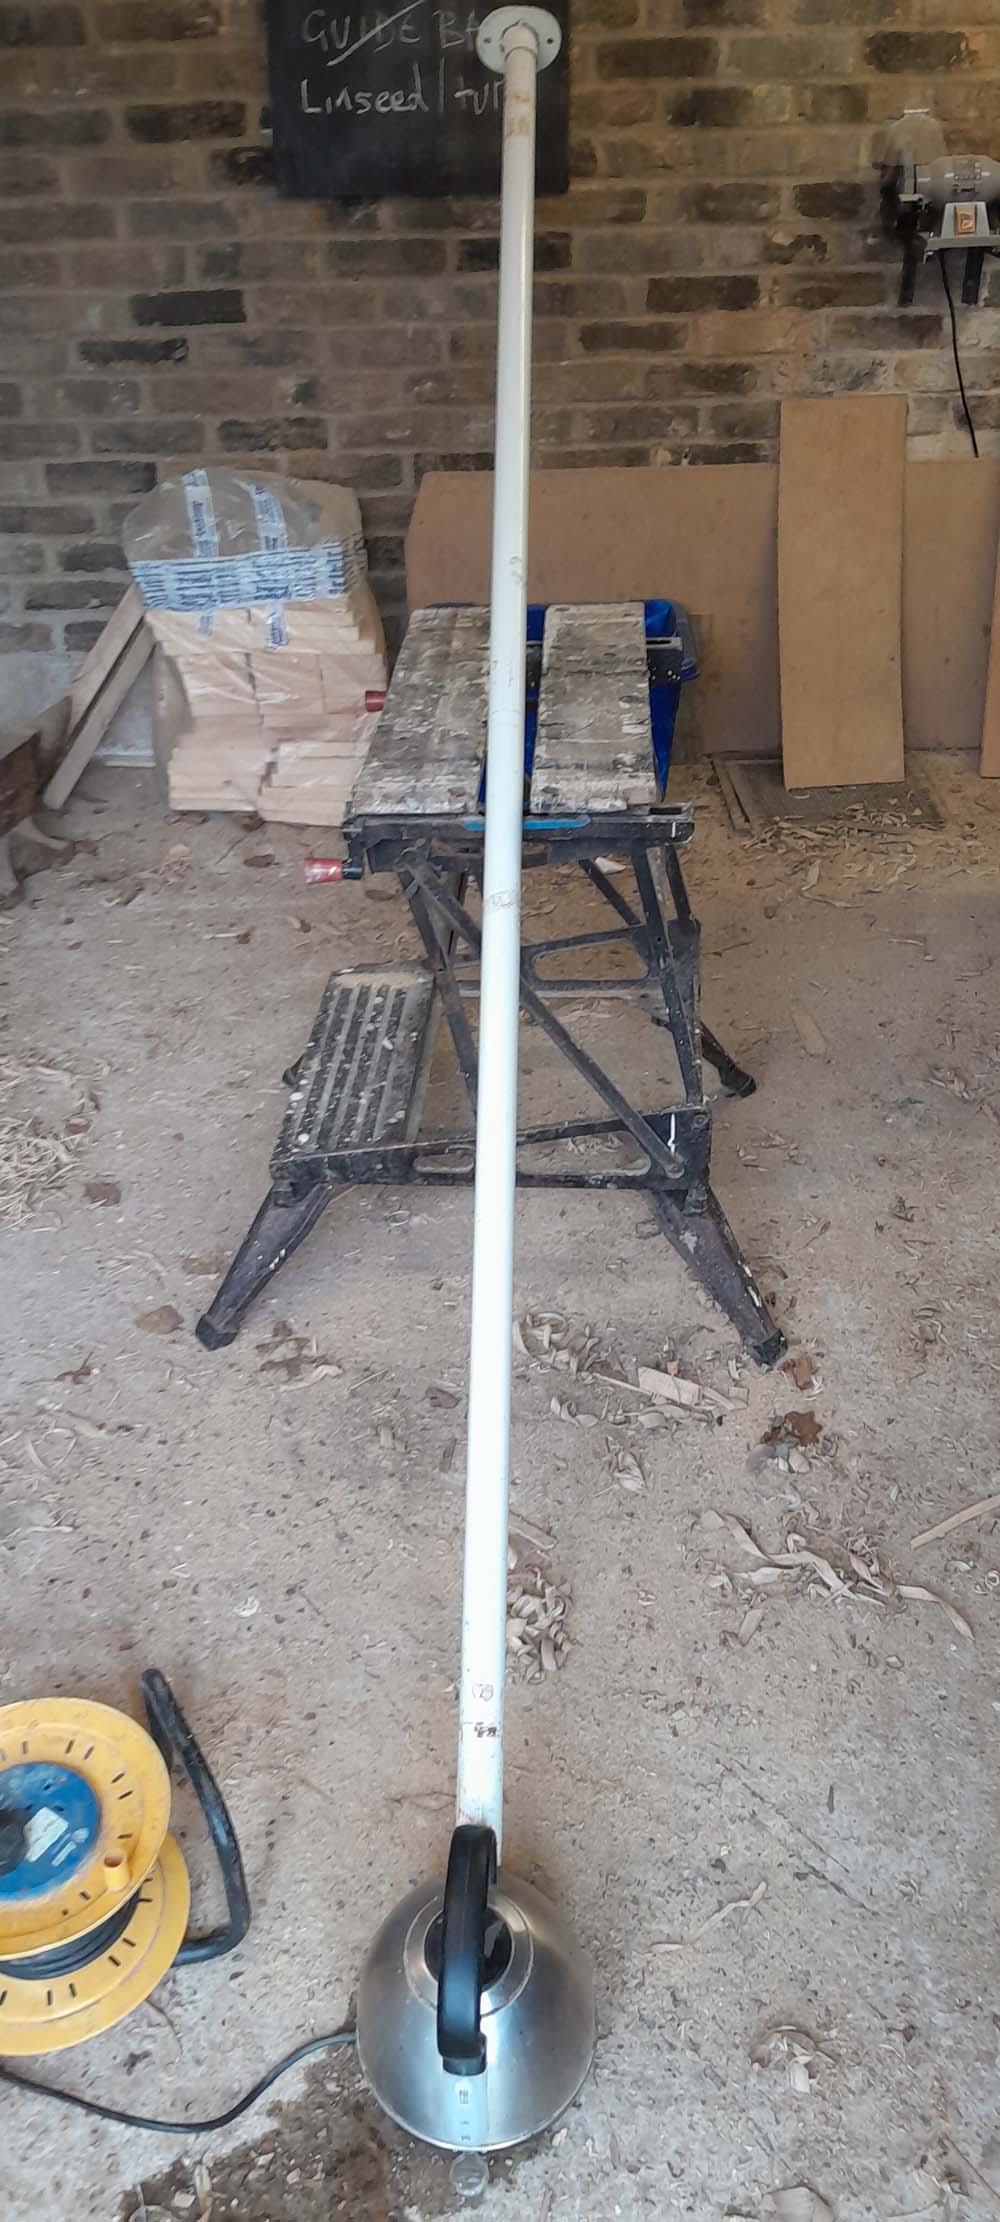
I have attached a picture of my steamer for your amusement. Basically, a metal pole from my party tent and an old Tesco kettle. 15 mins did the trick and I successfully bent 2 lengths, plus a spare using a strip of tin cut off the edge of an old corrugated sheet. I opted for 7 long and 4 short spindles with armposts, like the photo on page 99, as I preferred the smaller triangular gap.
Thank you for your inspiration, I have thoroughly enjoyed this challenge.
Raw Materials
Steambox and Kettle
Robert's Chair
Just about the greatest satisfaction that I get from running courses, comes from students taking chair making up as a hobby at home. I hope Robert’s experience will encourage a few more of the 1,700+ that have made a chair with me, to have a go!
I use cookies on my website to give you the most relevant experience and remember your preferences. By clicking “Accept”, you consent to the use of all the cookies.
This website uses cookies to improve your experience while you navigate through the website. Out of these cookies, the cookies that are categorized as necessary are stored on your browser as they are essential for the working of basic functionalities of the website. We also use third-party cookies that help us analyze and understand how you use this website. These cookies will be stored in your browser only with your consent. You also have the option to opt-out of these cookies. But opting out of some of these cookies may have an effect on your browsing experience.
Necessary cookies are absolutely essential for the website to function properly. This category only includes cookies that ensures basic functionalities and security features of the website. These cookies do not store any personal information.
Any cookies that may not be particularly necessary for the website to function and is used specifically to collect user personal data via analytics, ads, other embedded contents are termed as non-necessary cookies. It is mandatory to procure user consent prior to running these cookies on your website.
Performance cookies are used to understand and analyze the key performance indexes of the website which helps in delivering a better user experience for the visitors.
Advertisement cookies are used to provide visitors with relevant ads and marketing campaigns. These cookies track visitors across websites and collect information to provide customized ads.
Functional cookies help to perform certain functionalities like sharing the content of the website on social media platforms, collect feedbacks, and other third-party features.